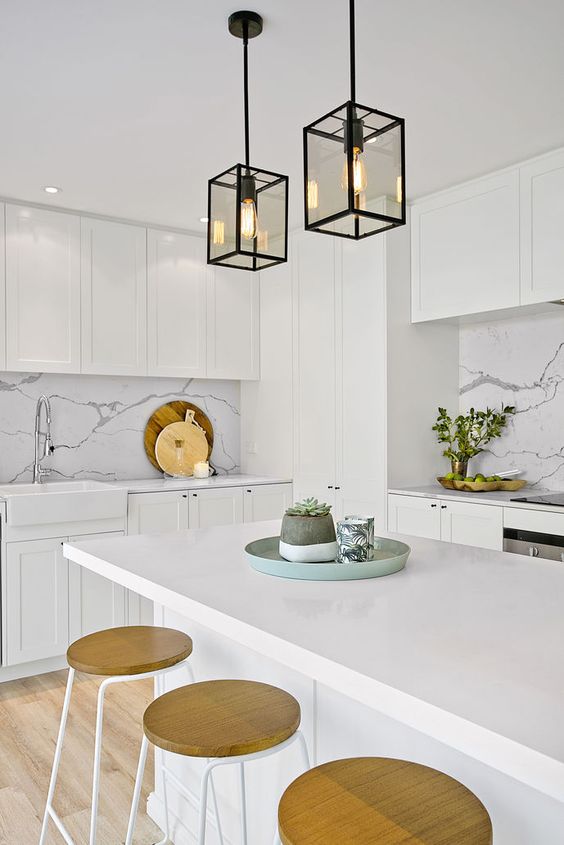
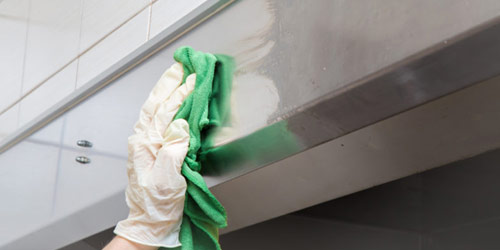
To ensure the very best finish for your new kitchen splashback, it is important you know how to measure round corners for your splashback in the most effective way. Square corners and socket cut-outs are generally fairly easy to measure, however, it is on rounded corners where mistakes can be made and left to look a little untidy.
Follow our simple guide to getting the best possible measurements for the rounded areas of your kitchen, then upload them into your order when asked. From there we will be able to create a cardboard template or a technical drawing which you can then double-check against the area of your kitchen and sign-off before we cut a single piece of acrylic. This really is a great way to save time and money on mistakes that can easily be avoided.
Top Tips
If there are any obstacles such as a kitchen cupboard, take two measurements and use the shortest measurement.
We suggest leaving a 2mm gap at each edge to allow for any heat expansion that may occur once fitted.
Using spacers can help to find the correct positioning when you are fitting your splashback. Once the sealant has dried these can be removed and the gaps filled with the remaining sealer.
If your splashback has feature corners, leave 2mm per panel for any expansion, then deduct the thickness of one panel where they intercept (5mm for acrylic and 6mm for glass).
You will find all of the spaces you need in our handy Fixing Kit.
When it comes to measuring your rounded corners, this can be done easily with a framing square or two rulers.
- If you are worried about getting the sizes wrong you can order one of our specialist paper templates
Watch this useful video that shows you how to take the measurements easily and accurately.
Follow our simple guide to getting the best possible measurements for the rounded areas of your kitchen, then upload them into your order when asked. From there we will be able to create a cardboard template or a technical drawing which you can then double-check against the area of your kitchen and sign-off before we cut a single piece of acrylic. This really is a great way to save time and money on mistakes that can easily be avoided.


Let’s Begin…
If there are any obstacles such as a kitchen cupboard, take two measurements and use the shortest of them both.
We suggest leaving a 2mm gap at each edge to allow for any heat expansion that may occur once fitted.
Using spacers can help to find the correct positioning when you are fitting your splashback. Once the sealant has dried these can be removed and the gaps filled with the remaining sealer.
If your splashback has feature corners, leave 2mm per panel for any expansion, then deduct the thickness of one panel where they intercept (5mm for acrylic and 6mm for glass). You will find all of the spaces you need in our handy Fixing Kit.
When it comes to measuring your rounded corners, this can be done easily with a framing square or two rulers. Watch this useful video that shows you how to take the measurements easily and accurately.
Please don’t hesitate to contact us if you would like any more help in finding the perfect measurements for your new kitchen splashback or if you have any further questions regarding ‘how to Measure round corners for your splashback’. CLICK here for the contact us form.