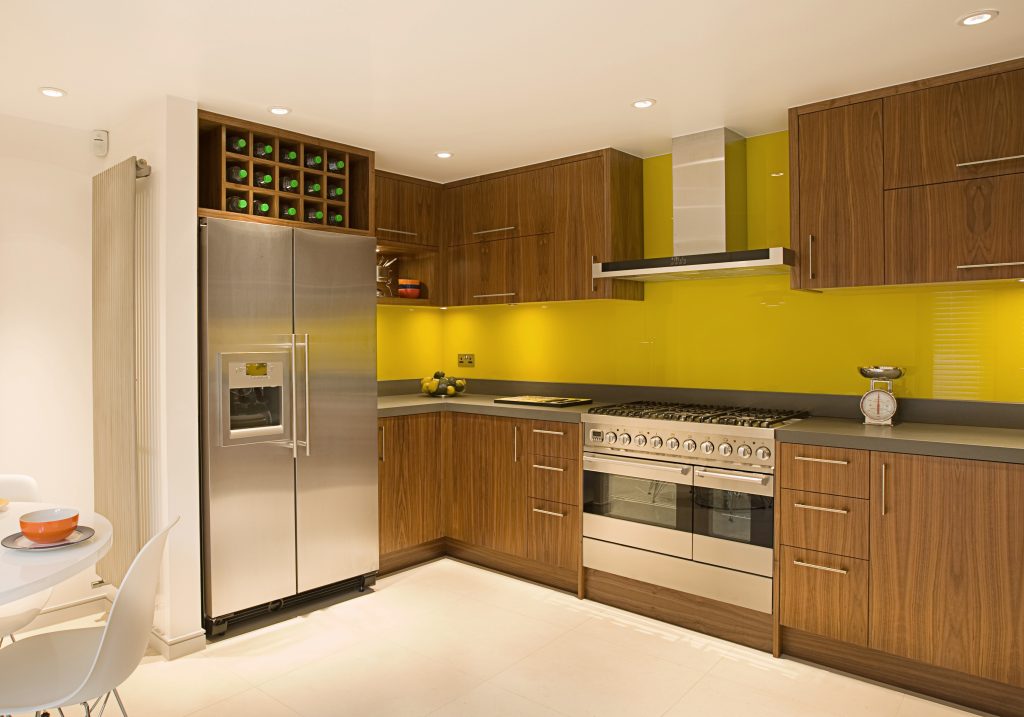
How to fit a splashback
Fitting one of our splashbacks yourself is simple, as we cut your pieces to size it will arrive seamlessly and stunning, without the need for any additional work. Plus, to make things even easier, you can also buy our fixing kit including everything you will need to get your splashback securely attached to your wall.
Once you’ve purchased everything you need, there are only 5 simple steps you will need to follow:
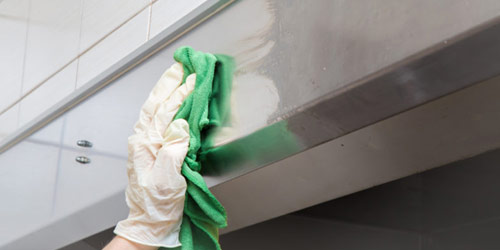
1. The surface you are applying your splashback to must be clean, flat and dry. However, if the surface is porous e.g. plaster, wood, or MDF, we recommend that you seal the wall first using a watered-down PVA mix specialist sealant.
2. Gently rub the area with the wet and dry paper to provide a key for the glue. Wipe the area clean.
3. Carefully apply the CT1 sealant, take care not to apply this too close to the edges. It must be applied as instructed below, otherwise, the vinyl will lift. Please note: Only use the CT1 sealant suggested by us to avoid any issues with the fitting.

4. To ensure your panel is in the correct position, use the panel spacers and wedges to adjust.
5. You should now firmly press your splashback into place to ensure a good bond is created.
6. Ensure all edges are sealed to stop any water or vapour from entering behind the splashback
If you have any further questions on how to fit a splashback, Please click HERE for our contact page!