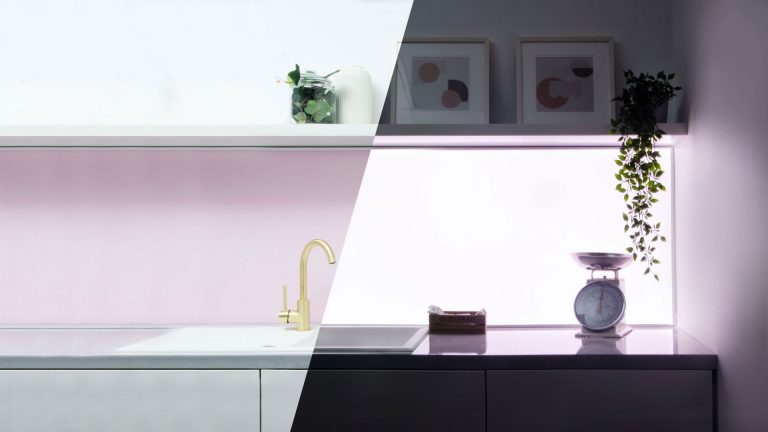
Installing your Illuminated Splashback is a simple process, but there are different ways in which you can install it to suit your space. In this Illuminated Splashback Fitting Guide, we will explain the fundamental steps for a successful installation. If you have any further questions, please contact our Splashback Specialists HERE!
What you will need:
- Drill with 10mm drill bit
- Non-solvent based adhesive and caulking gun
- Sand Paper
- Masking Tape
- Stanley Knife
- Pen
- Spirit Level
- 1 or 2 helpers – depending on length of splashback
- Blocks to rest splashback on to keep level – we use 4 even pieces of scrap wood
what’s Included:
- Drill Guide and smoothing applicator – to ensure your drill hole is covered when splashback is in place.
- All electrical equipment with plug and play system
- Dimmer switch


Step 1 – Prepare Your Surface
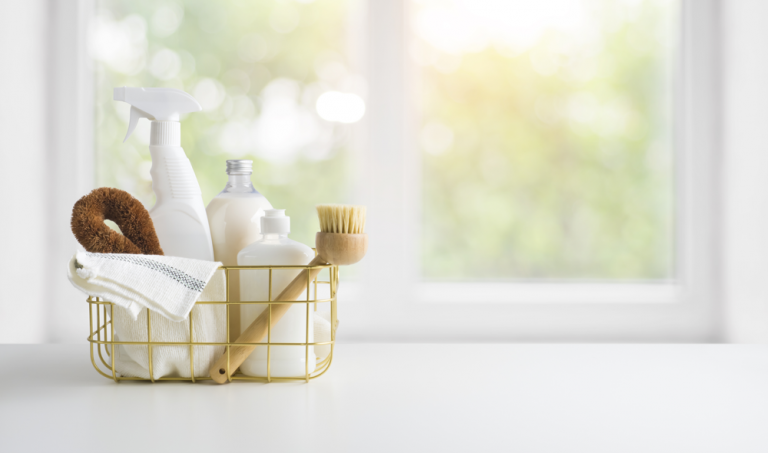
Use your spirit level to ensure there is no bowing in the walls. If your spirit level doesn’t sit flush against the wall, sand down any areas that stick out. Finally, Clean the area of any dust, so It doesn’t stick to the adhesive later in the process.
Step 2 – Drill hole
Use your masking tape, pen and drill guide supplied, mark the area you wish to have your cables feed into your cabinets (this can be different depending on your kitchen, in our installation we have chosen to run the cable down into the void behind the cabinets). Use your 10mm drill to make a vertical hole (The majority of this hole will be concealed under the splashback once in place and once you have finished the job with sealant the hole will not be visible at all.) With help, lift the splashback on top of your worktop, if you have a sink make sure you use risers on either side of the sink so the splashback can sit level. Finally, Feed the cables through the hole and insure they are tangle-free.


Step 3 – Apply Adhesive and sealant
With your splashback sitting level on your work surface, apply the adhesive 25mm in from the edge, on the back of the splashback. Once this is applied, get one of your helpers to gently pull the cable that has been threaded into the drill hole, whilst you lift your splashback into place. This ensures the cables don’t get caught or bunched under the splashback whilst you are lifting into place. Push your splashback flush against the wall so the adhesive has even contact. Finally, apply adhesive along the bottom edge of the splashback with a thin continuous motion to seal the edges. Use the plastic drill guides’ dedicated edge to remove any excess sealant to leave a smooth, professional finish.
Please Note: Leave the splashbacks Adhesive to dry for at least 12 hours before turning on and or allowing the splashback to get wet.


Step 4 – Electrics
Using the Electrical pack supplied, attach the extension cables supplied (if required), transformer, dimmer switch and plug to the splashback wires. Placement in your kitchen for the dimmer switch is completely customisable, so you can find the perfect place for your home. Finally, Plug your transformer into your nearby socket and your splashback is ready for use.

There are many different ways you can install our illuminated splashbacks. You can have your electrical outlet from any corner of the splashback you wish, have the cables go into cabinets above or below your work surface, or even have it wired into your mains electrics. If you have any further queries, please don’t hesitate to contact our Splashback Specialists to discuss this further.
Contact our Splashback Specialists HERE!