Read below to discover our top 5 tips and tricks and things to consider when choosing your new splashback.
Tip 1. Choosing The Right Design & Material
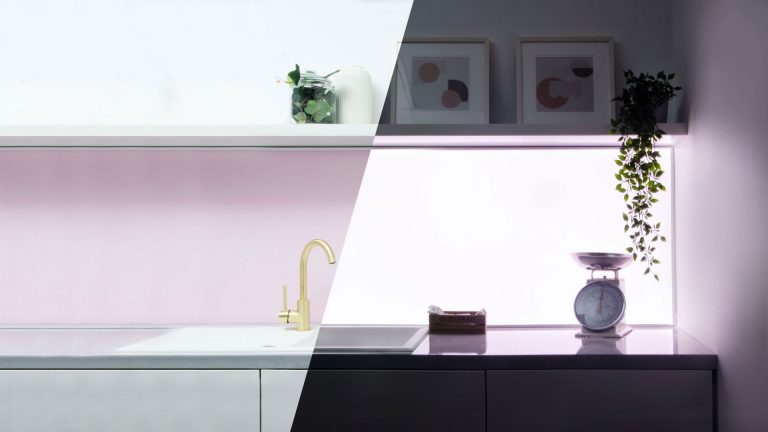
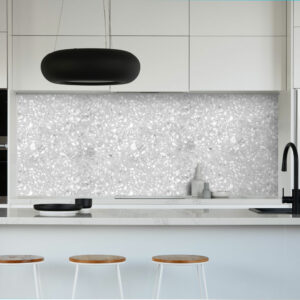
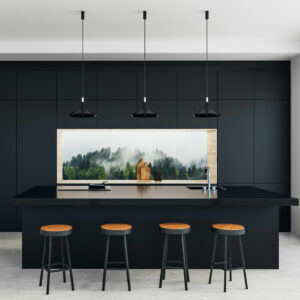
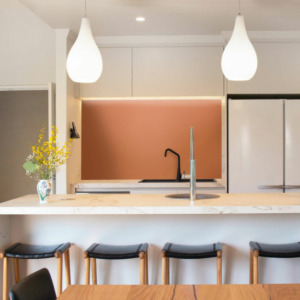
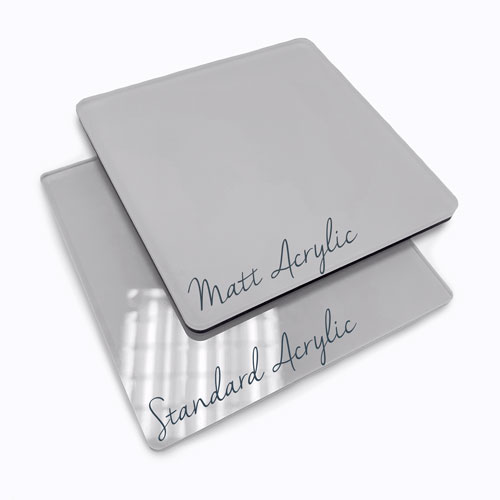
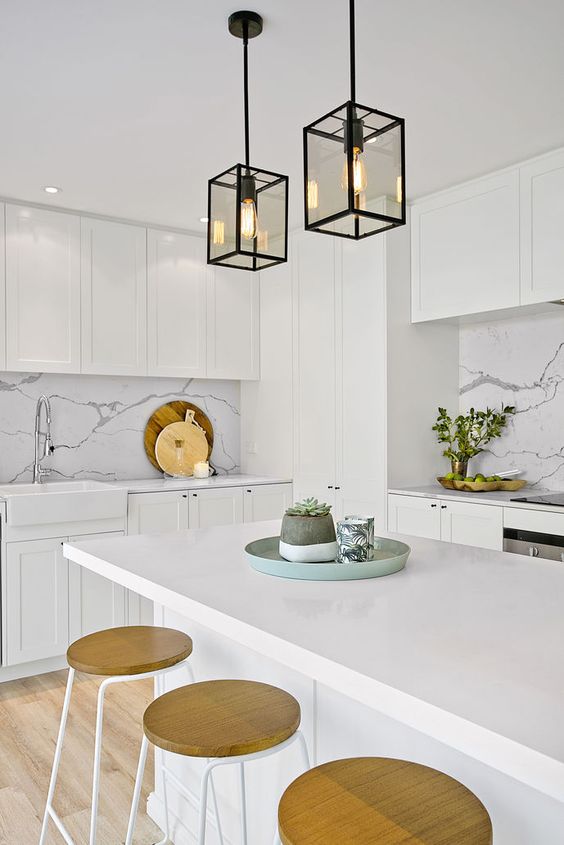
Choosing the right design for your splashback is as important as choosing the kitchen cabinets, as it will be in your home for at least the next 5 years. The style can alter the whole room. You should consider whether you want to make a statement focal piece or something more subtle if you have more extravagant room designs or furnishings. The great thing is you have endless options including atmospheric landscapes, traditional style tiling effects, copper, custom colours or even custom-printed splashbacks. All of which you can find on our website. Bathroom and kitchen splashbacks come in a variety of different materials and finishes, these include matt and high gloss Acrylic to brushed Aluminium Composite. Find the list of pros and cons for materials available below.
| Acrylic Splashbacks | Aluminium Splashbacks | Glass Splashbacks |
| PROS – Suitable for use with electric and convection hobs and bathrooms with the correct sealant – Easy to fit – Allows for socket cut-out with a low possibility of damage – Available for custom printing – Available in a large variety of colours, patterns and finishes – Lightweight – Glass-like finish – Food graded – Available to get in the exact size to the mm or cm – Water-resistant – 5 mm thickness | PROS – Suitable for all hobs (with an advisory 150mm back from the flame) and bathrooms – Easy to fit – Allows for socket cut-out with a low -possibility of damage – Available in a variety of colours and two finishes including brushed and high gloss – Lightweight – Food graded – Available to get in the exact size to the mm or cm – Water-resistant – No sealing required – 3 mm thickness | PROS – Suitable for all hobs – Available in a large variety of colours and patterns – Food graded – Water-resistant – 6 mm thickness |
| CONS – Not suitable for G=gas cookers – Sealing edges is advised | CONS – No custom print is available | CONS – Fragile – Only available in one high gloss finish – Socket cut-outs make the splashback fragile and difficult to fit – Heavy |
Shop our full range of different colours, patterns and finishes on our website.
Tip 2. Measuring & Templates
The most common misconception is that you need a professional to fit your splashback, where in fact, unlike other options such as natural stone, quartz or tiles it can be fit very easily with one or two people, depending on the size of the splashback. To get a perfect finish measuring the space that your splashback will fit is essential. We have a full guide HERE on our website to follow along and if you are still nervous and or have a splashback with multiple cutouts then our templating service is a great solution. Simply provide us with your dimensions and we will send out a specialist card cut to the exact size of your splashback to confirm that the dimensions are correct. You can order this HERE or contact our sales team for more complex orders.
Tip 3. Samples
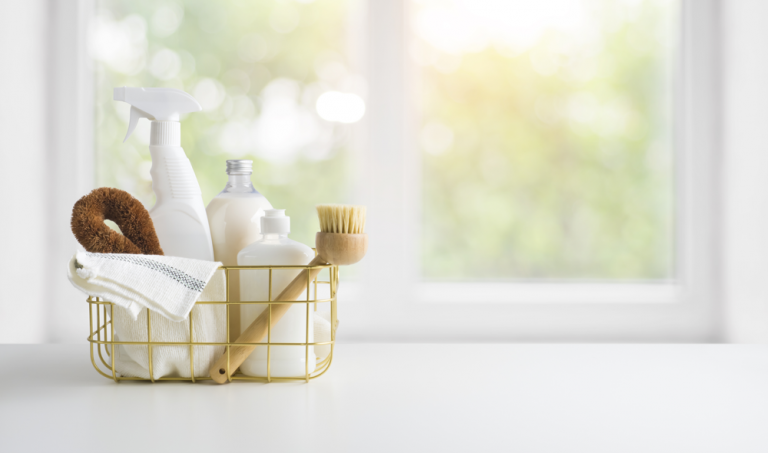
One of the most crucial stages when choosing your new splashback, whether it’s for your bathroom or kitchen, is to ensure the material and fabrication of the splashback will stand the test of time. The only way to do this is by ordering samples. We have a full guide on quality testing your samples to ensure they are high quality HERE. Most of our splashbacks have samples available and all of our sample costs are refunded when you buy your final splashback. Samples are also an effective way to ensure that it is the perfect colour or design to suit your bathroom or kitchen interior.

Tip 4. Slab Splasback or Task Splashback
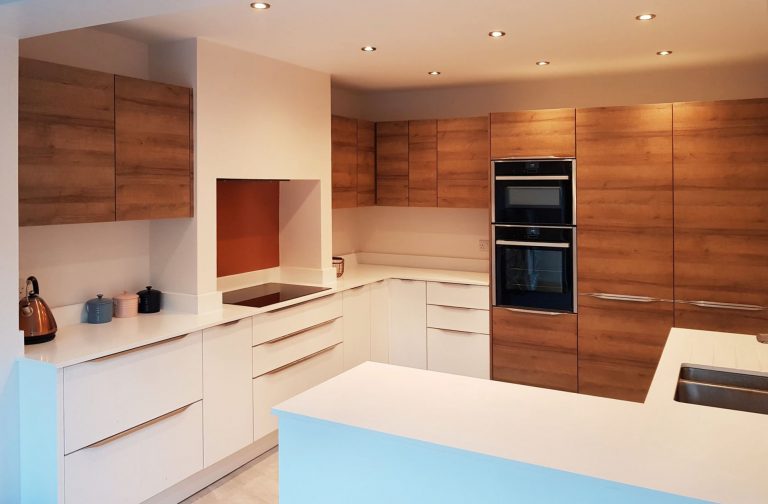
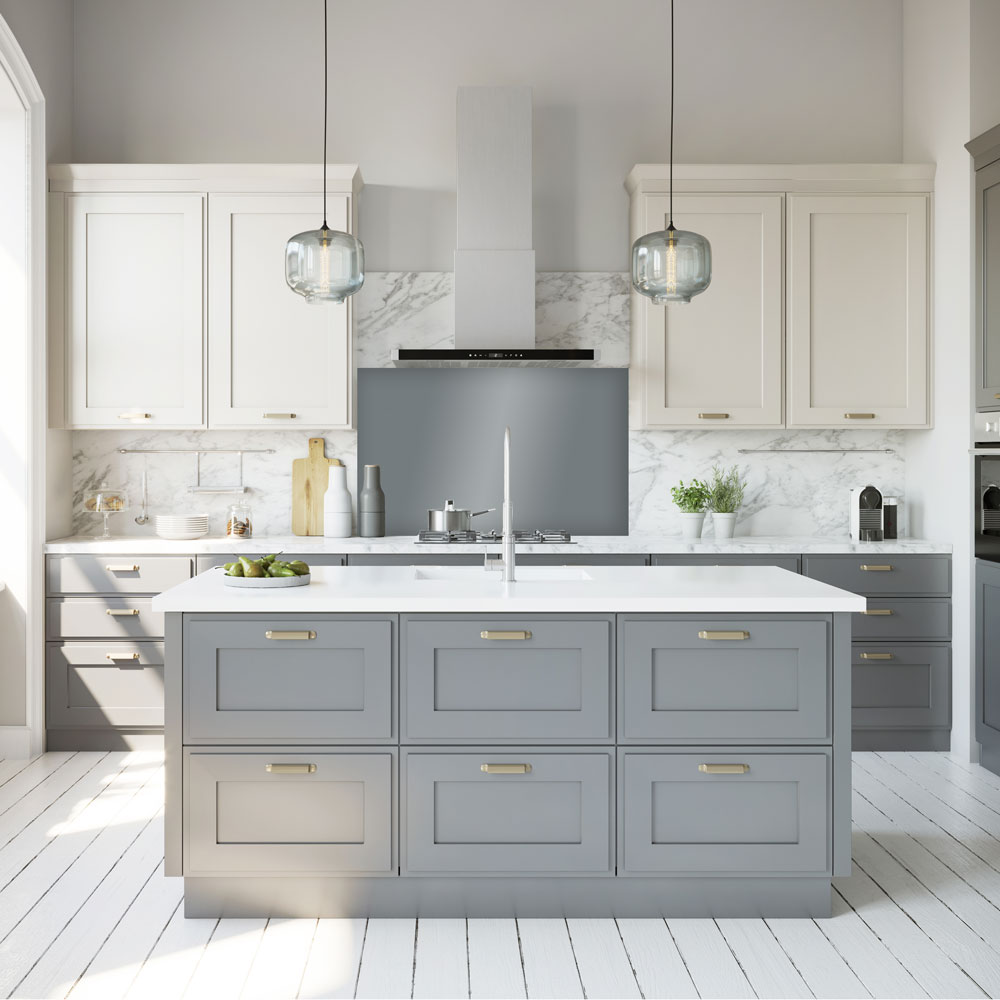
With more design options and people looking to optimise their kitchens for easy maintenance, full-size splashbacks that sit along all of your kitchen surfaces are becoming very popular. Slab splashbacks are also a popular addition to your work surface upstands. If you opt for a slab splashback printed tiles or patterned images such as landscape or geometric designs are very effective. Alternatively, task splashbacks simply sit behind your hob or sink area.

Tip 5. Wall Preparation & Fitting
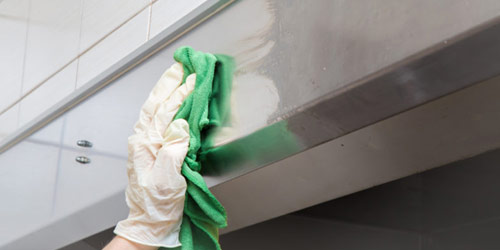
Wall preparation and the way you fit your splashback will determine how long your splashback will last. Ensure your wall is mostly flat, slightly sanded, wiped clean and dry. Before you begin, make sure you have unscrewed the front of any sockets in the splashback area so your splashback can sit behind the socket for a sleek finish. Apply the CT1 sealant in a continuous s motion on the back of your splashback, next place your splashback into position and press firmly to ensure there is an even wall connection. Finally, seal any edges with CT1 for a professional look. If you are fitting your splashback in a bathroom sealing the edges is a crucial stage to prevent warping.