Updating your bathroom has never been easier, even for someone taking their first steps into DIY. All you have to do to achieve a flawless long-lasting splashback is follow our simple guide below on how to install a bathroom splashback. In just a few simple steps you can achieve a quality look and finish, with beautiful splashbacks that will be easy to fit and effortless to maintain.
We have put together a few straightforward steps to help you create the bathroom you’ve been dreaming of.
Fitting and sealing guide
- Start by clicking here to find our guide on ‘How to fit your Custom Splashback’.
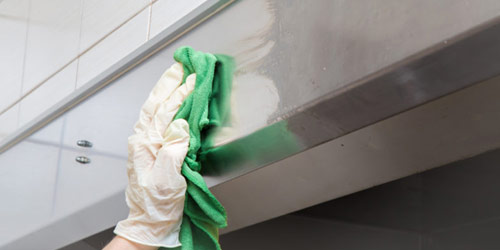
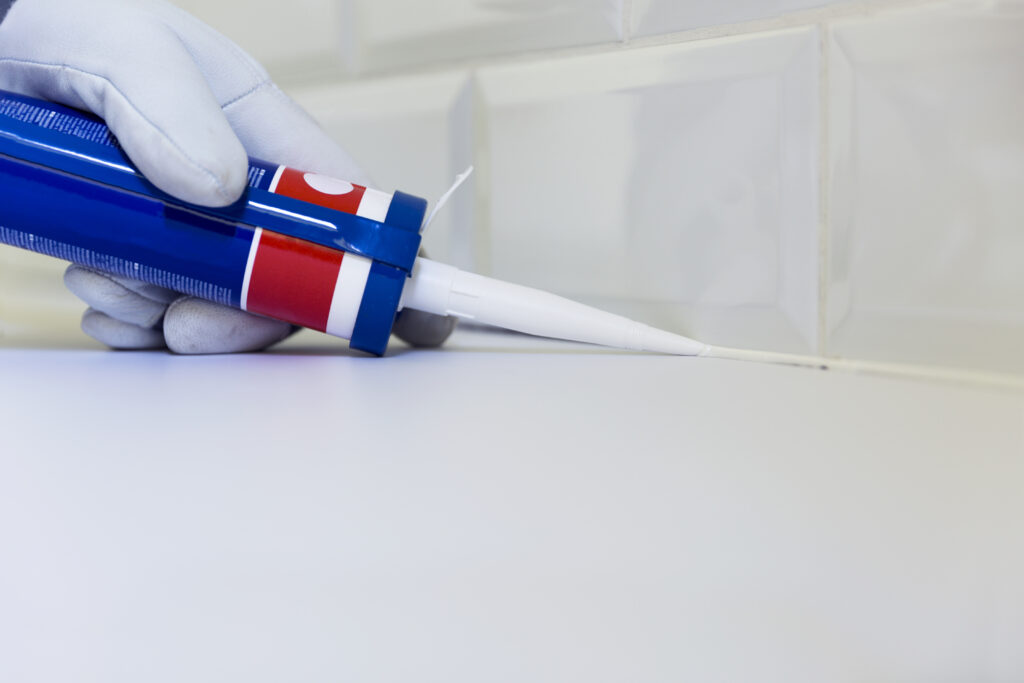
- Once you have followed these simple fitting steps, take some time to let the splashback adhesive set. After you have waited for the splashback backing adhesive to dry, use your waterproof silicone sealant and squeeze a small line along any exposed edges.
- Finally, run your finger along these edges to remove any excess sealant and to give it a smooth and sleek finish. Be sure to wait until this sealant is completely dry before getting the area wet.
Please Note:
It is important to note that if you choose not to seal the edges of your bathroom splashback, humidity can get inside and cause the material to bubble or separate.
If you have any questions about fitting a splashback in your kitchen or bathroom, please don’t hesitate to get in touch with our support team on 01305 779955 or [email protected]
Please don’t hesitate to contact us if you would like any more help in finding the perfect measurements for your new kitchen splashback or if you have any further questions regarding how to install a bathroom splashback. Click HERE for our contact page.